
The flooring is douglas fir and has been stored in a box car belonging to the Trolley Museum. John and Mike are stacking these boards prior to squaring the ends on the chop saw in the background over Mike's back.

John is cutting while Jim is helping move boards.

The boards were then placed in this jig for notching.

Craig used his router to cut the notches.
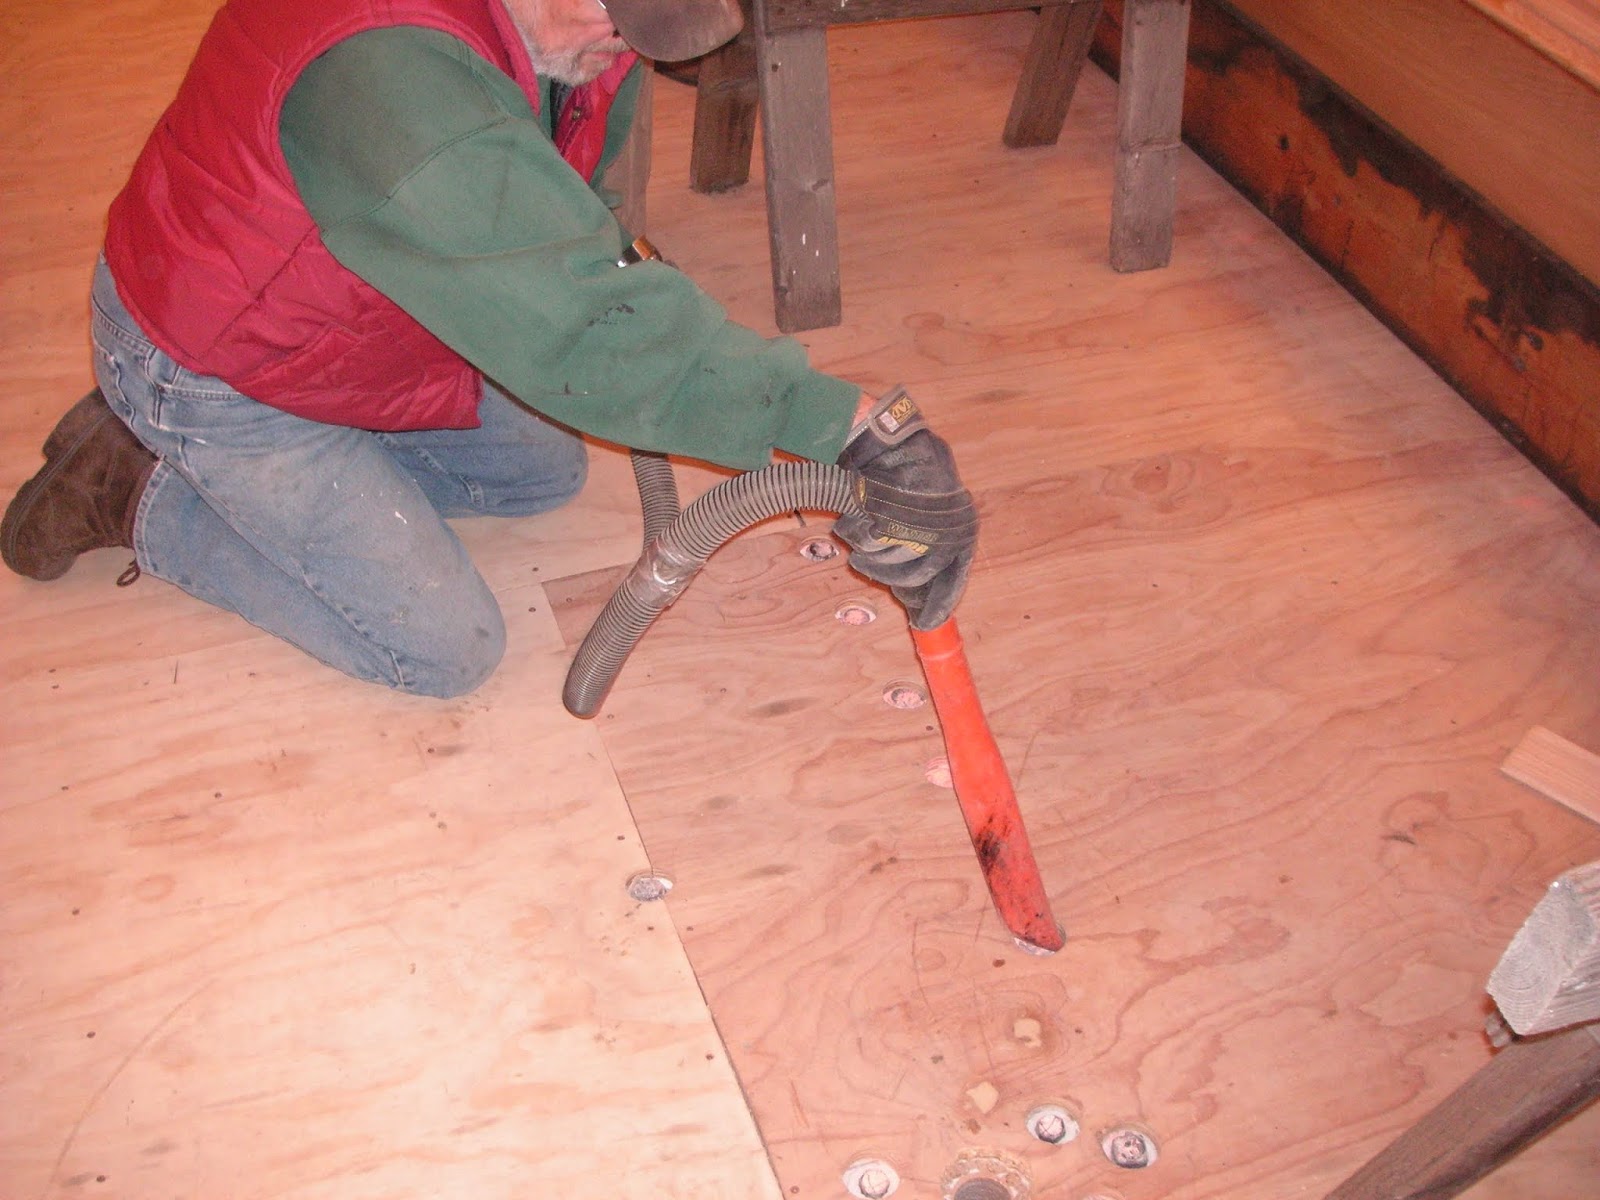
Bill L. vacuumed the subfloor.

The next step was placement of tar paper as a moisture barrier. Dean is working on this while others are wrestling with the bolster bowl.

A string was used to align the first row of boards. John C. is shown here helping with the placement.

The first row was face-nailed down, here by Dean.

The tongue and grooves were fitted and the splines inserted into the ends of adjacent boards.
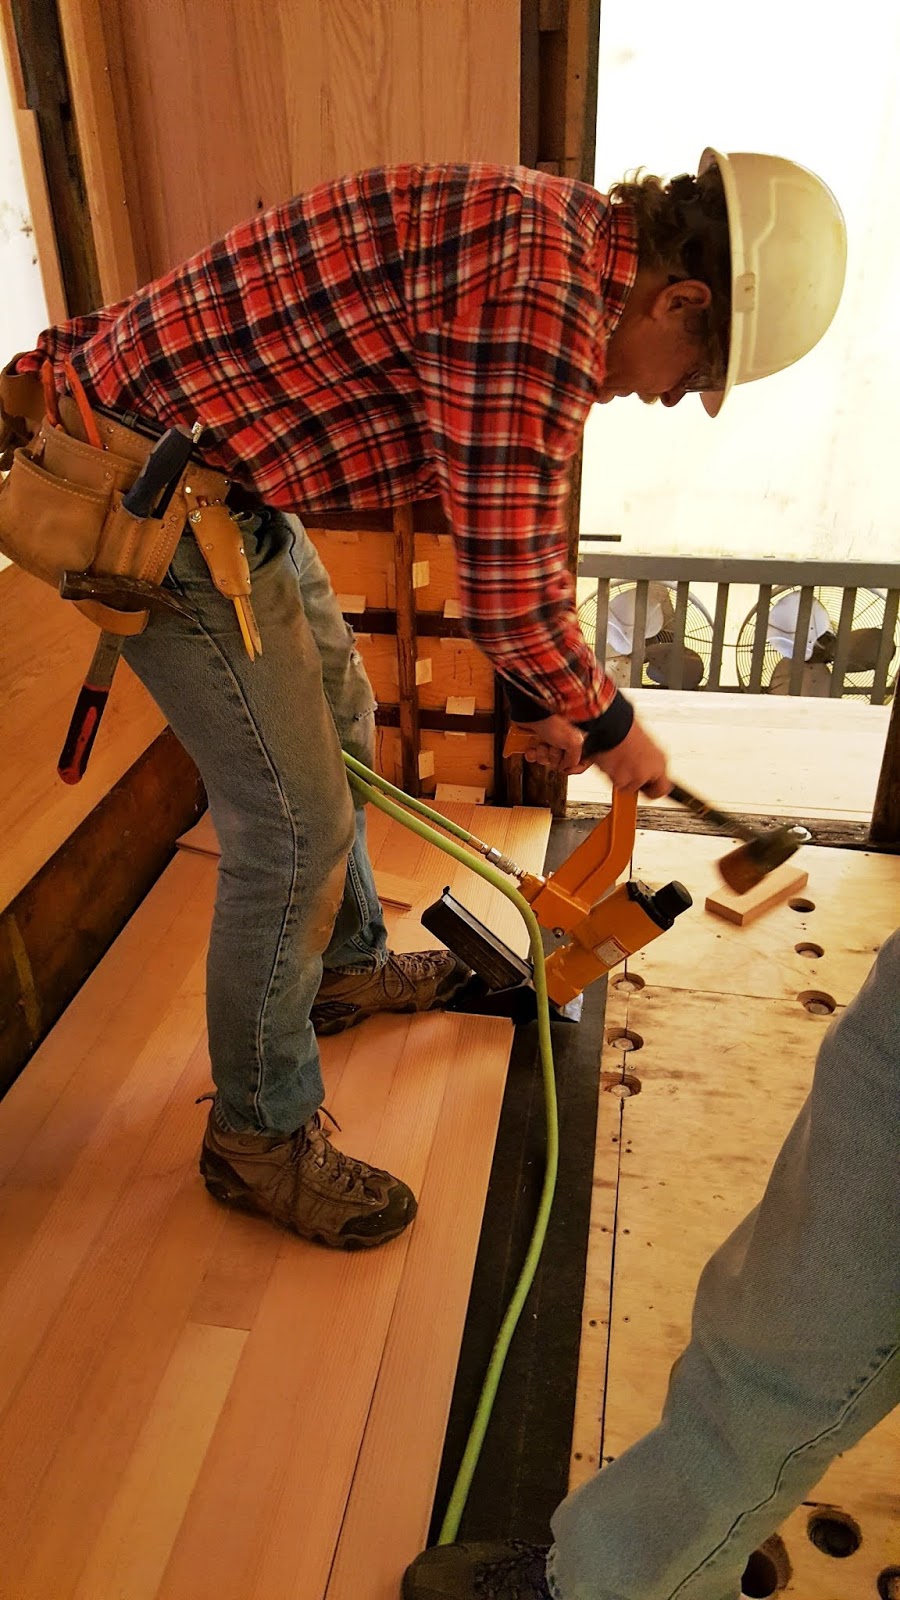
After the first row was installed the subsequent rows were nailed in place with a flooring nailer.

While trying to place the bolster bowls on the bolsters it was discovered that the ends of the platforms sills (and covering steel) were not allowing the bowls to seat properly. So grinders were used to cut away the offending wood and steel, here by Mike.

In this photo the bolster is in the upper right corner and the two platform inner sills extend off to the left with part of the ends removed. The bowl is resting on the tie or block below.

Now it fits! The plates are heavy and work space was limited so mechanical assistance with lifting and holding was needed. Bill K. and Mike are aligning the plate with the bolt holes in the bolster.

It looks like Mike is putting a lock nut on a bolster bolt. This was a two person job with one above having a wrench on the head of the bolt in the floor to keep it from turning.

Sometimes the bolt holes didn't line up properly and redrilling was required. In this photo Bill K. is looking cautiously at the magnetic drill that is attached to the bolster to redrill one of the holes. The rope is to hold the drill from falling if the power were to go off (which it did).

This photo shows the bolster extending from the upper left to the lower right part of the picture. The plate (or bowl) is attached with bolts extending up through the floor of the car. Part of the bolster wedge is visible in the extreme upper left of the photo.

The plate clears the end of the platform sill that has had a haircut.

Four bolts hold the plate in place. Coupler nuts were used because of the carriage-type bolts in the plate.

A view from below showing the four round head bolts that have been ground flush with the surface of the bowl so that the truck can turn on it. The two bolts on the ends are for the bolster. The hole in the middle is for the king-bolt or center pin.


This plate covered the hole in the floor of the car through which the center pin was placed, and was recovered during dismantling. Only one was left in the car and plans are to have a second one made.


Meanwhile, Craig has been working on the window glass. The car originally had regular glass but now tempered glass is being installed. The moulding needed to be adjusted accordingly and this photo shows a floor spline, about the same thickness as tempered glass in the revised moulding.


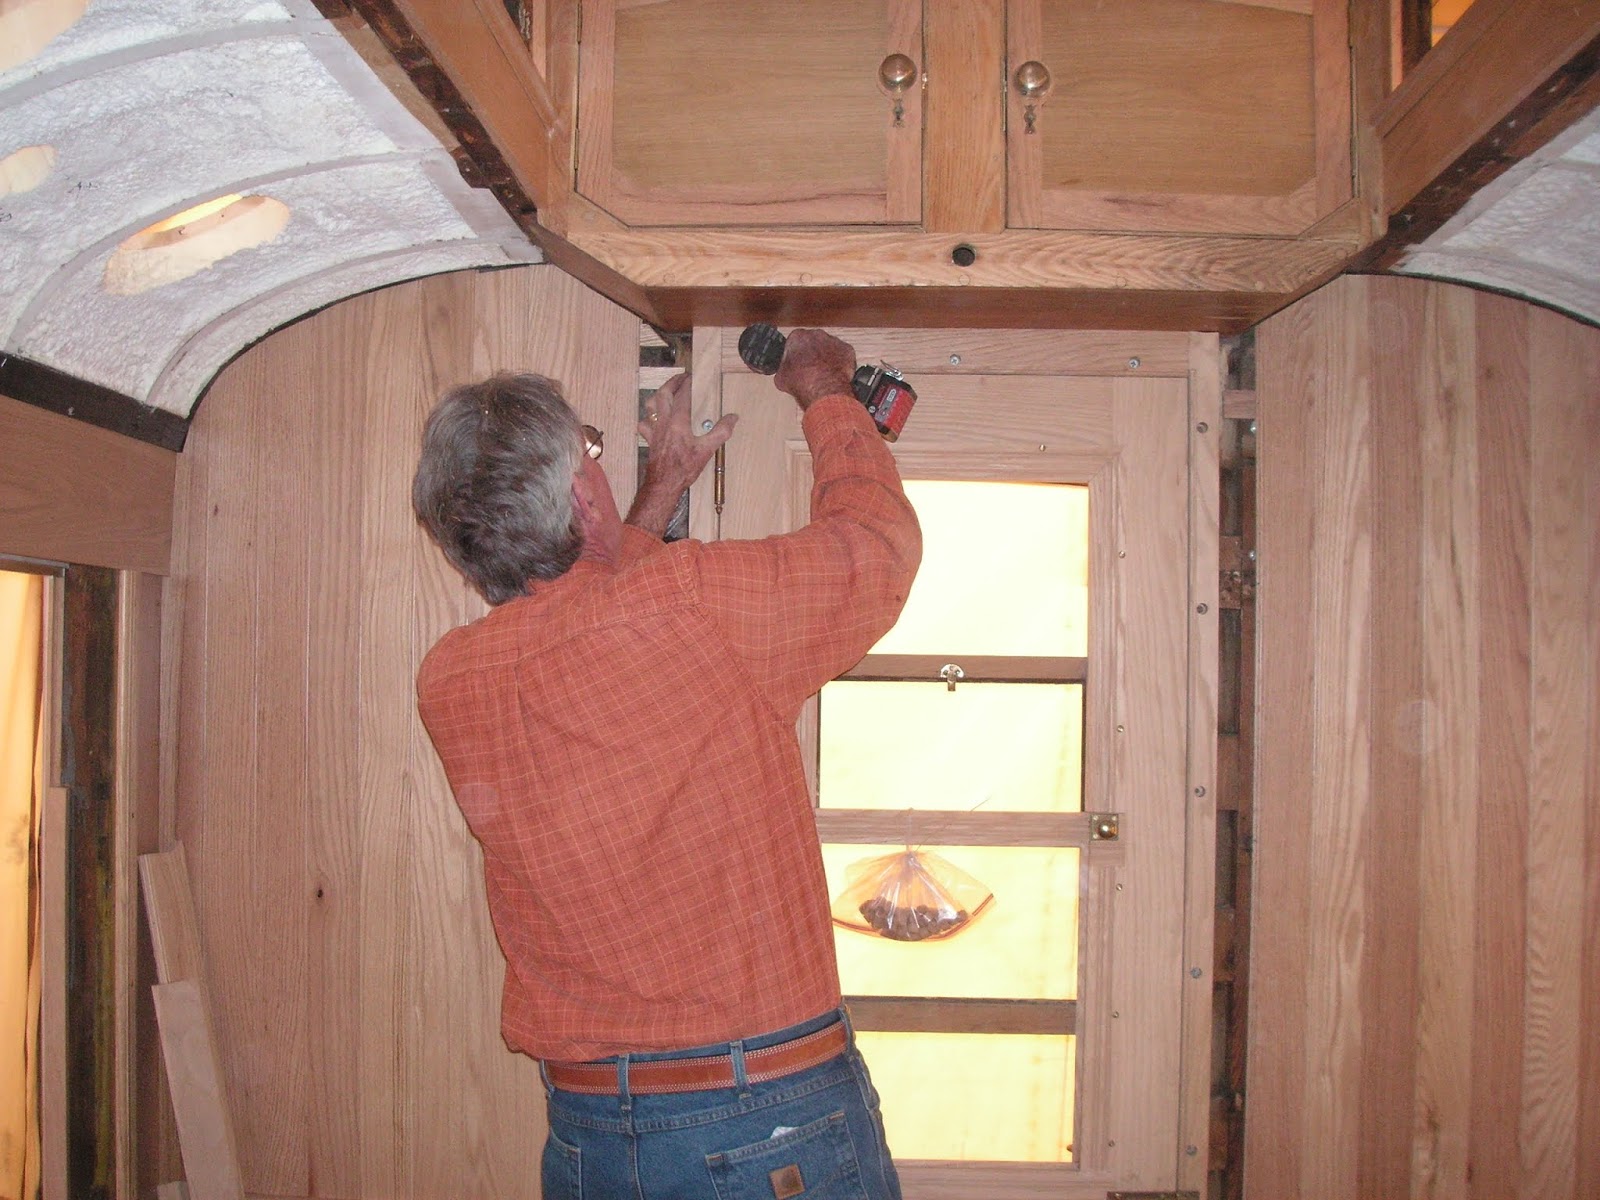

It looks good open and closed.
Thanks to John Engs, Tom Simco and Don Atkinson for contributing photos.