Fall saw activity increasing at the COS worksite with work sessions in September and October. The clerestory ceiling was completed and work progressed on the interior and exterior trim. Installation of the coupler pocket mountings was begun among other things.
Before starting the clerestory ceiling Craig made a mockup of the corner pieces as shown here. The top horizontal piece is the tongue-and-groove that will go on the ceiling and the vertical piece on the right will go on first in the corner of the clerestory. The small piece below will finish off the corner.
This is another view of the mockup looking at it as one would see it on the ceiling.
Before installing the backing piece the carlines needed some trimming so it will fit properly. Here Ron is busy with a chisel.
In this photo Craig is fitting the backing piece in place.
One more thing had to be done before putting up the ceiling boards, and that was replacing the end cabinets. These covered a space that extends over the platforms and were removed when the car was dismantled.
This shows one of the two cabinets that has been cleaned up and is ready to be put back in place.
This is a view from the back side of the cabinet.
Craig and Ron are lifting the frame into place. Note that some insulation had to be removed for the upper edge of the frame to fit properly.
Craig is nailing the frame in place.
The cabinet has been installed, so now the ceiling boards can butt against the upper frame.
The first board is being nailed up by Craig.
Bill K. did his share as well.
By the end of September we had a pretty good start.
Towards the middle of the car holes had been drilled earlier in the roof by John and Bill L. marking the location of the vents for the chandeliers.
Don is cutting holes in the roof for the vents. (Seems like a shame to do that?)
The ceiling boards have to be cut as well for the vents.
Here is the crew at work, Debbie is handing the mallet to Bill K. on the ladder to snug the board in tightly. Bill L. is in the foreground doing the cutting (saw is behind him), and Don is on the other end of the board. We were shuffling ladders up and down the length of the car with one person on the ground to cut and hand up the boards.
These are the vents that were removed from the car that will be reused. Tom has been cleaning them up.
We are getting close to the other side now. Bill L. is doing the nailing.
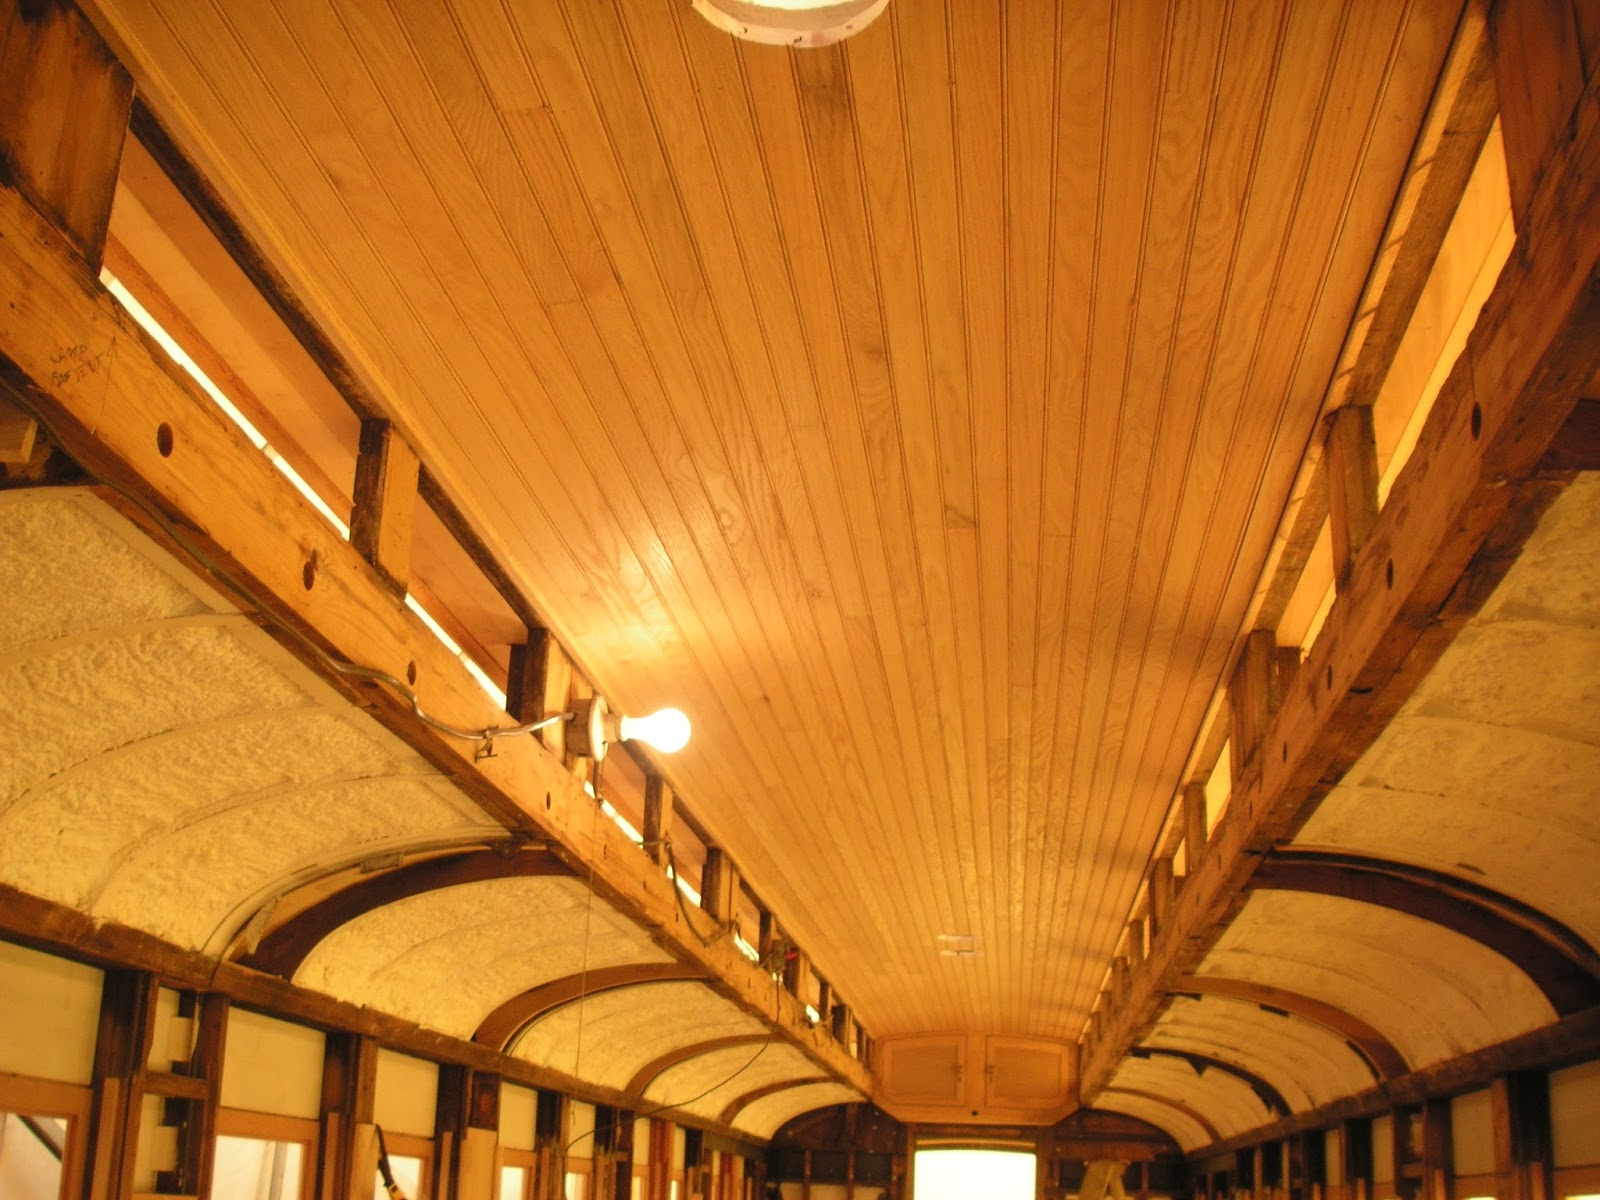
By the end of October we finished the clerestory ceiling.
Craig made new windows some time ago, and mounted one in a frame with the correct hardware for demonstration purposes. This day he wanted to temporarily install one.
This photo shows the end of the molding that goes below the clerestory windows. Craig milled it from a sample of the original and as can be seen it is quite complex. It is designed so that the windows can be opened and closed and the roof flashing will partially cover it.
This is the window in place and partially open as seen from inside the car. Note the hardware on the far side that keeps it in position. (Click on the image to enlarge.)
This photo shows the window closed as viewed from outside the car. Note the hardware with the notches to retain the window in various positions.
Work continued on the exterior trim as well. In this photo I am taking my turn with the nail gun.
The steel has been obtained for the coupler pockets.
The angle pieces will be bolted to the bottom of the inner sills. John has positioned one of the pieces below the four bolts to mark the holes to be drilled.
This photo shows the marks (crosses) for the drilling.
Finally John punched a small hole at the center of the marks for a drill guide.
Work has also been progressing on the end platform railings. This photo is of a drawing of the railings similar to that of the Pullman car, including the coupler mechanism.
Joe, our metal guy, has been busy making the posts for the railings.
Joe and John are discussing the assembly of the railings while Tom is holding a post.
In this photo Tom is holding a post and an end iron in relative positions that they will be in. The bend in the end post at the bottom provides a hand hold for climbing the steps to enter the car.
Here Joe is rechecking the dimensions of a post.
Thanks again to Tom for contributing photos.