Friends COS calendar

A subset of the Friends of the Cumbres and Toltec Scenic Railroad located in Colorado Springs, Colorado, with the mission of preservation, restoration, and interpretation of CTSRR historic assets. The Springs group is primarily involved in restoration. See below for blog archive of older postings.

Monday, January 29, 2024

September-October 2023

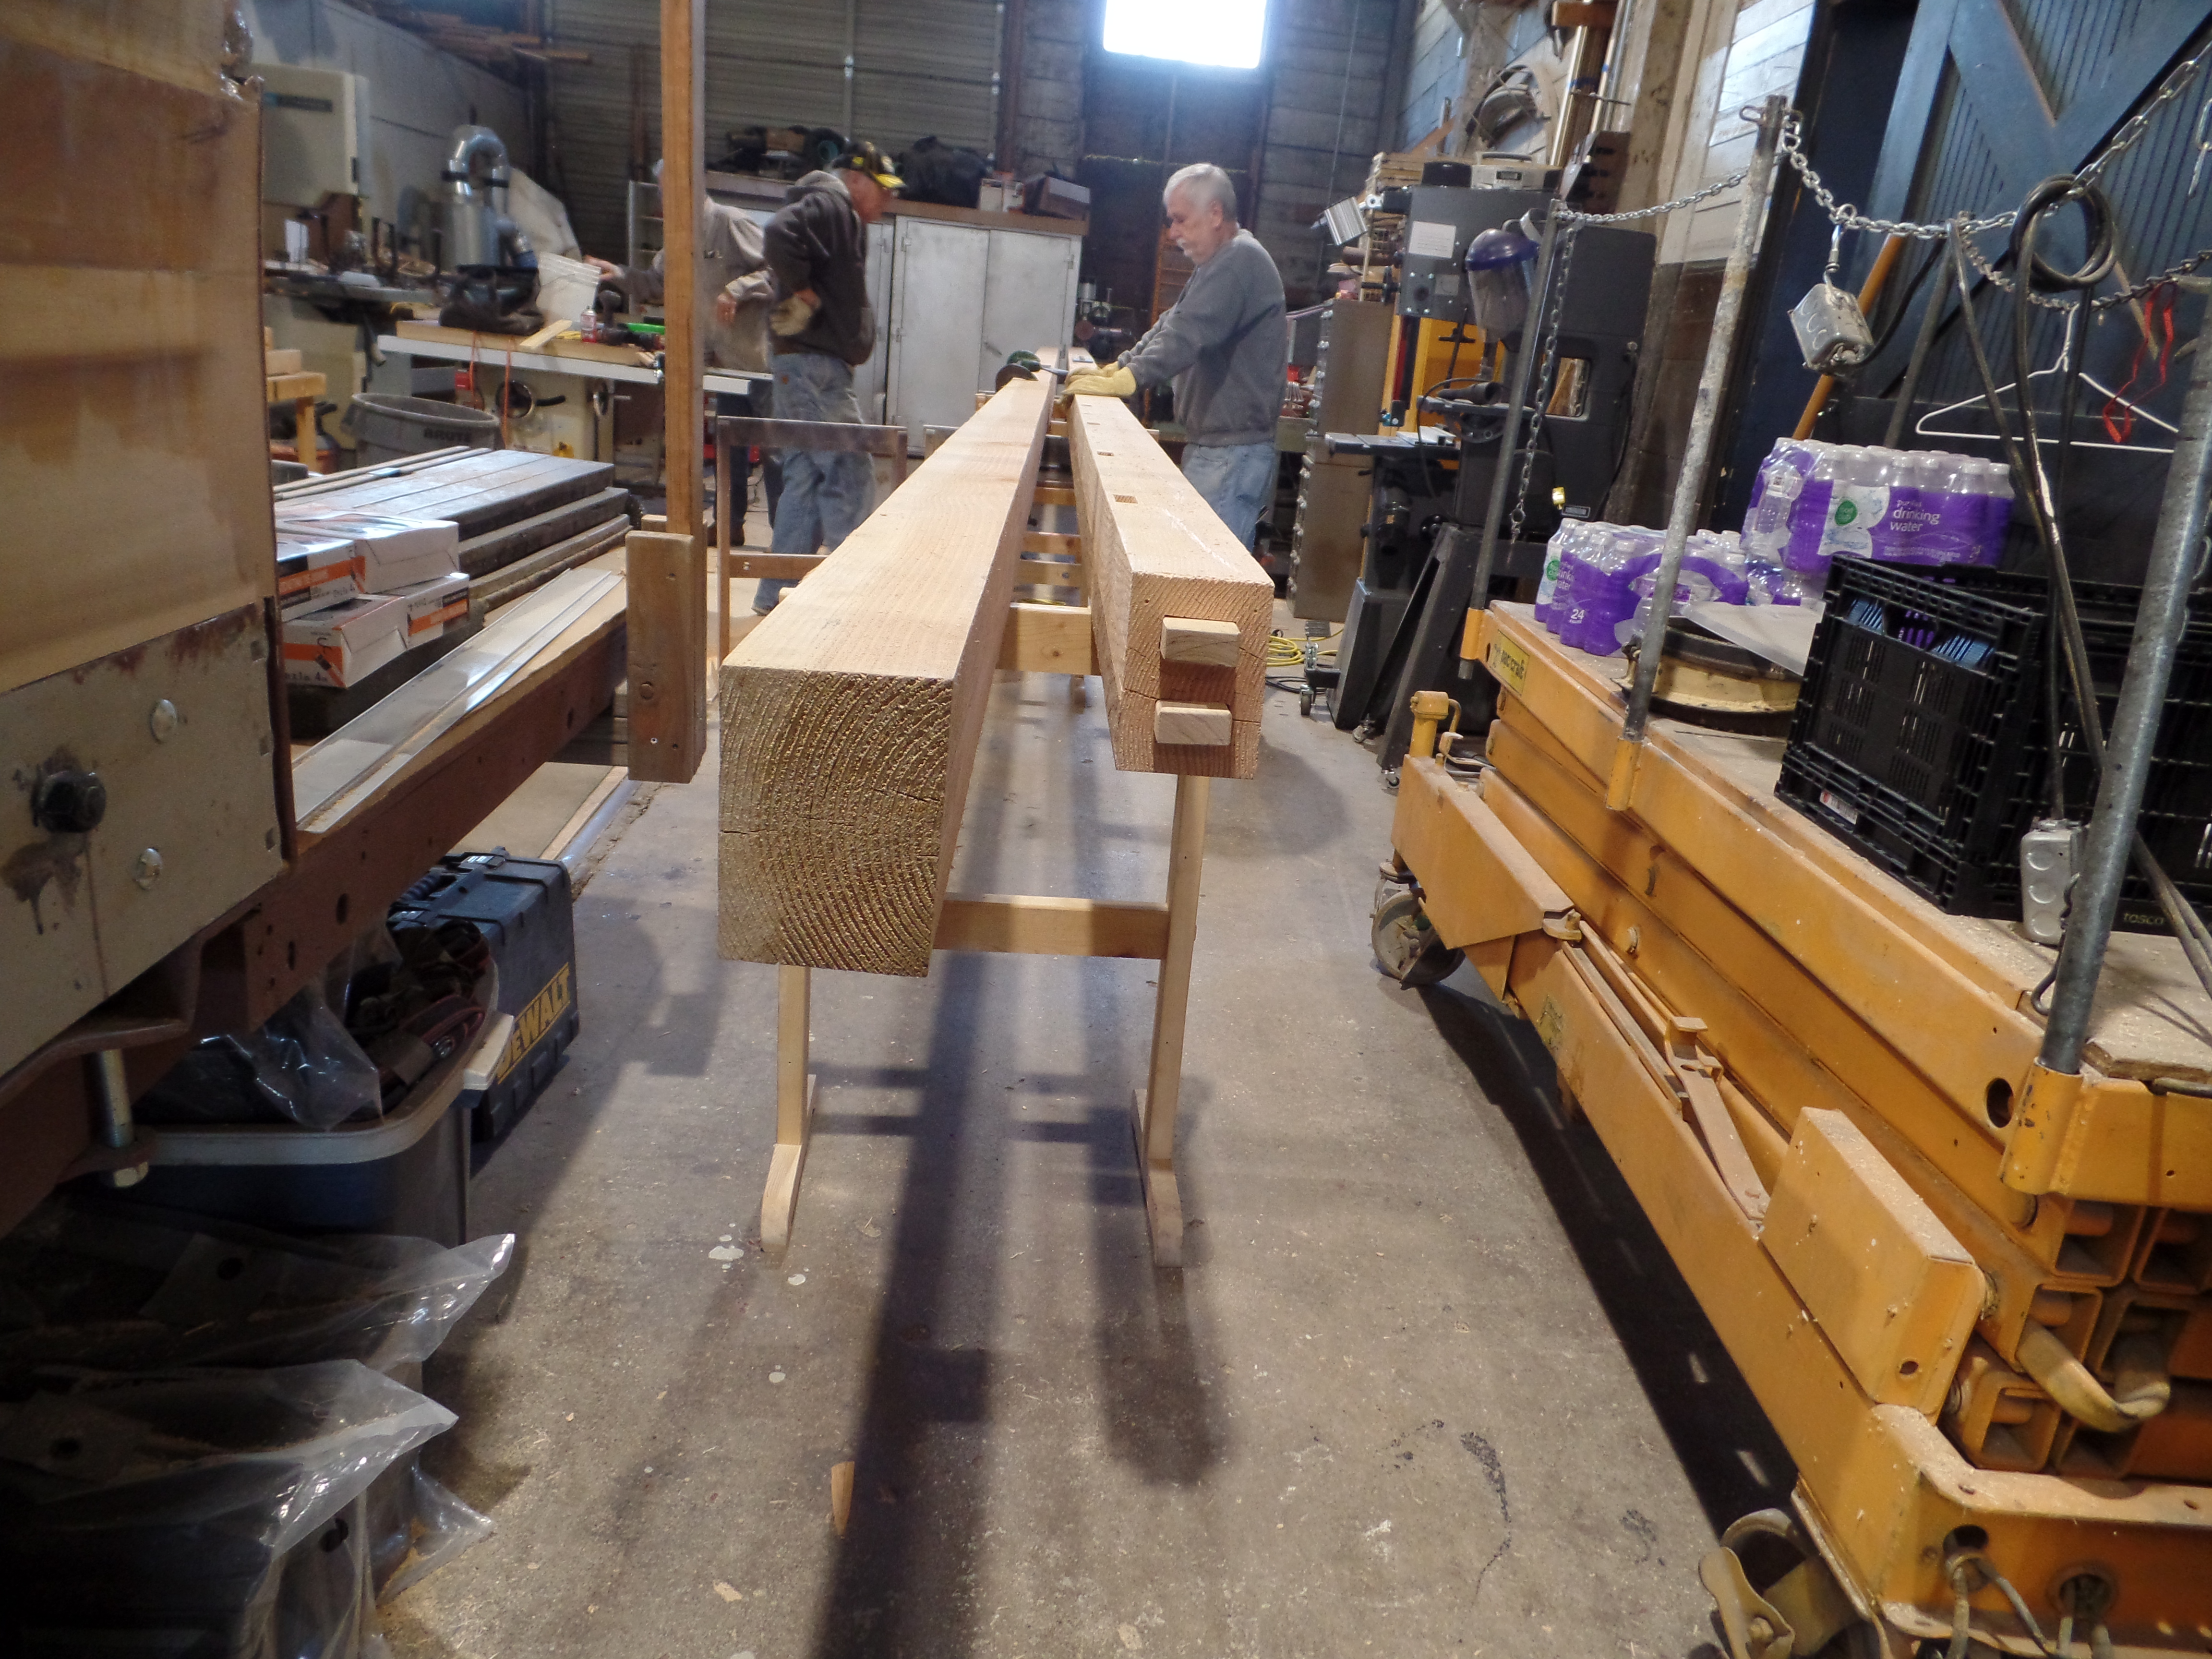
During this fall period the south wall supports were united with the new outer sill and the ceiling jacks removed.  Work started on replacement of the outer sill on the north side of the car.  The wall framing on the north side is in better shape since it was more out of the weather than the south side.

The new south sill will be bolted to the bolster.  John is drilling holes in the sill for the bolts.

Craig is working on a mortise in the sill.

This is a completed tenon and mortise joint with a tie rod next to the vertical member.  The cuts in the wooden framing members were located so as to have access to the nearby tie rods for welding safely.

Here Joe is cleaning up the end of a tie rod before welding.

This is a "busy" joint with a vertical support, two angled supports and a tie rod through it.


This photo shows the bolster mortised into the under side of the new sill and two bolts fastening the sill to the bolster.
Joe is clamping a sleeve onto the ends of the old and new tie rod pieces before welding.

Getting ready to weld.

Dean is gluing the lap joint in a vertical member.

This photo from the middle of September shows good progress replacing the ends of the wall supports and fitting them to the sill on the south side.  Note that the jacks are still in place.

This photo shows a tie rod fastened to the underside of the sill with a washer and nut.  The excess length will be removed after tensioning.

This is one of the quiz answers from the previous posting.  This "curvy" piece of steel is one of the truck chain anchors.  It will be bolted to the end of the sill.

This photo shows one of the anchors in place on the north side of the car.


Joe is getting ready to weld another sleeve joint on one of the angled tie rods.  Click on image to enlarge.

There he goes!

The lap joints have been glued and sanded.

The vertical tie rods have been secured under the sill to help hold the mortise joints together.

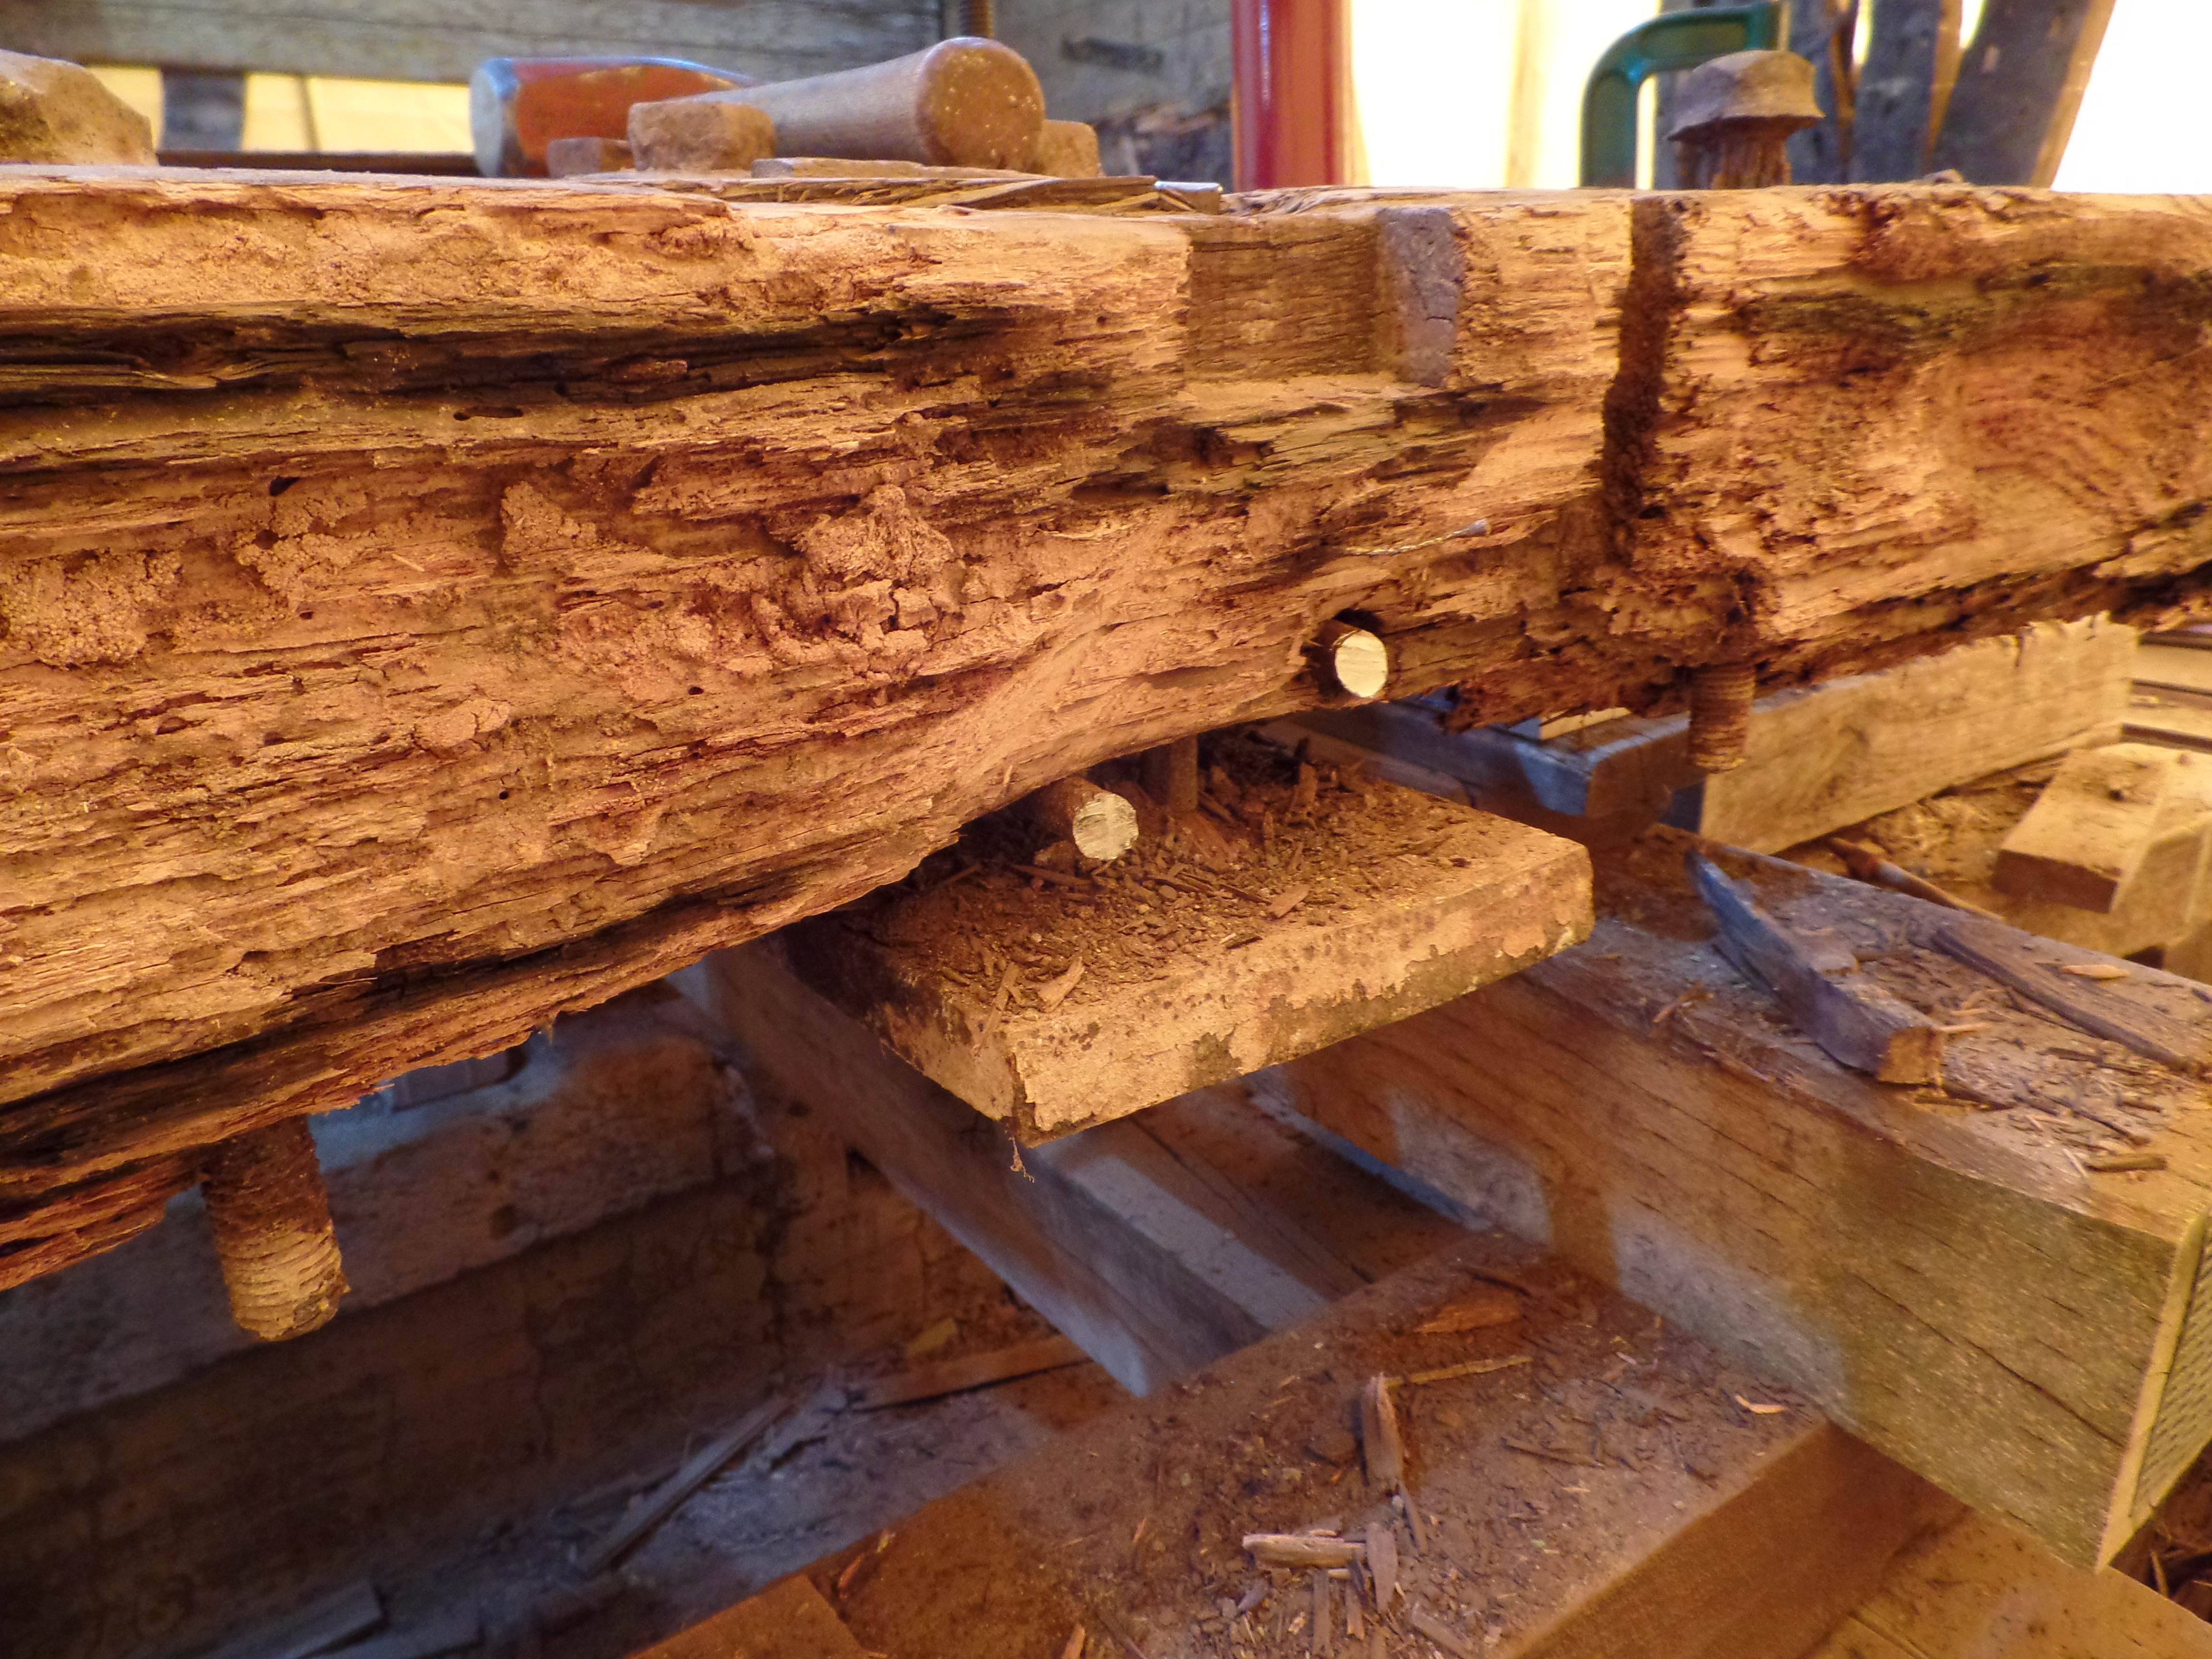
Moving to the north side of the car, this is a view of one of the bolsters attached to the deteriorated outer sill.

This is a view of the northeast corner showing the angled tie rod and anchor which has been bent outward.  The top of the truck chain anchor can be seen on the top of the sill.

This is a view of the north sill from near the west end showing an angled tie rod and anchor which have not been disturbed.

Going back to the south side, notice that the roof jacks have been removed.  Many of the cross bracing plates between the intermediate and outer sills were cracked and had to be replaced.  I believe that is Mike putting a new plate in place.

Joe is drilling a hole in the sill for a new horizontal tie rod end to be welded on.  The original was cut to remove the old sill.

The new end in place.

The sleeve has been installed between the two pieces and they are ready to be welded.

This view shows the new cross bracing in place between the sills.  In the lower right of the photo the end of a horizontal tie rod with a washer and nut are visible.

The end sills will be replaced and there are several tie rods holding them securely to the car.  One has been cut and John is teasing it out with a crowbar.

More tie rods to go.  This one is coming out more easily.

A closer look at the southwest corner.

This is the northwest corner showing the tie rods still in place.  They have large square heads welded on them.

These are two of those tie rods that have been removed.

The southwest corner after tie rods were removed.

A view of the interior looking toward the west at the end of October.  The roof jacks are in place on the north side ready to work on the north outer sill.


Friday, January 19, 2024

Spring-Summer 2023

 I am combining work sessions from May through August since several Colorado Springs sessions were missed due to activities in Chama and Antonito.  This will be a longer post,  however.  During this time the old outer sill on the south side was removed and the new one put in place.  Much of the time was spent splicing new ends on the vertical supports and tie rods and fitting them to the sill.

At the beginning of May most of the deteriorated ends of the vertical and angled supports have been removed and lap joints cut in anticipation of splicing new wood.

Tie rods have been cut.

Jacks were placed between the intermediate sill below to the clerestory sill above.

After extending the jacks the tenons have been lifted out of the mortises in the old sill.

The old sill now has to be detached from the bolsters and tie rods.  It looks like Dean is cutting one of the bolster bolts.

The sill appears to be mostly loose from its attachments.  Don is contemplating the next step.

The new sills have been spliced together and are in the roundhouse out of the weather.  The one on the right is for the south side.  Mortises have been cut and tenons installed on the end for attaching to the end sill.

A closer look at the mortises for the vertical side supports.  The plan is to use the south sill as a pattern for spacing the mortises on the north sill.

Craig is drilling a hole in the north sill for the steel plate at the splice.

Sometimes it takes a village.

This photo was taken in early June and shows the new south sill in place next to 163 after having been brought from the roundhouse.

This photo taken the same day shows the new sill under the tenons of the uprights.  It looks like everything is lining up well.

In July work continued on splicing and fitting the upright and angled wall supports to unite with the new sill.  In this photo Mike is cutting one of the uprights for a new lap joint.

Here we see an upright ready to be spliced and an adjacent tie rod ready for an extension.

A little trimming and smoothing with the chisel.

The new lower portion of the upright is fitted.

The laps in the new extensions could be cut on the band saw.

The new extensions are glued into place and clamped.

The tie rods also need to be reattached.  Joe has made connectors that will be welded together with the new lower ends.


This shows how the rod will fit together.  Click on image to enlarge.

The angled tie rods are more challenging.  Here Ron is holding a laser projecting where the hole for the extension should be drilled through the sill.

Craig is drilling the hole for one of the vertical tie rod extensions.

This is a view of the south outer sill at the beginning of August.  A few of the vertical supports have been rebuilt but most have been cut and waiting for new lower ends.  The roofs jacks can be seen resting on the intermediate sill.

This is a quiz.  What are these corroded steel pieces functions?

From this photo that Glenn took it looks like the piece on the left above is in situ in the left upper part of the photo.  The part in the middle above is an anchor for one of the diagonal tie rods.  The curvy part on the right above I have not been able to find as yet in Glenn's photos.  Stay tuned!

This photo shows a vertical tie rod with a new lower end and a sleeve holding the two pieces together.  Joe will weld everything permanently.

A close up of the sleeve joint.

Drilling the holes for the diagonal rods was tricky.

It looks like they have the spot and angle figured out.

The new rod end fits and is joined to the old with a sleeve.

Here Joe is welding together a sleeve joint on one of the vertical tie rods.  Craig and Ron are standing by.

A close up of a welded sleeve joint.

The excess weld material is ground off.

A sleeve joint after grinding.


The tie rods have been threaded below the sill for securing them in place.  The bolster will be bolted to the sill.

Drilling a bolt hole through the bolster into the sill.

Thanks to Don Atkinson and Glenn Butcher for providing some of the photos.


Followers

Blog Archive