Friends COS calendar

A subset of the Friends of the Cumbres and Toltec Scenic Railroad located in Colorado Springs, Colorado, with the mission of preservation, restoration, and interpretation of CTSRR historic assets. The Springs group is primarily involved in restoration. See below for blog archive of older postings.

Wednesday, November 9, 2016

August 2016

We continued to install the siding panels on the east end of the car.  In this photo I am holding the panel in place while Craig inserts the screws from the back side.


Here he is on the other side placing screws through the wood blocks into the siding panel.


After installation, the panels were primed on the outside with an oil based primer by Bill L. and Ron.


The west end panels are installed and primed.


In this photo Bill L. and Ron are priming the cedar boards for the underside sheathing before installation.


Cutting and fitting the sheathing under the car was difficult because of the complex framing.  Here Bill K. is screwing a board in place.


Meanwhile work continued on installing siding.  Here Craig is cutting primed boards to fit.


These boards are going between the windows, and Craig is nailing one in place with the nail gun.


This side is looking finished.


We had some uninvited guests this summer in the form of wasps.  There were nests on and in the trailer as well as in the pipe for the hand rails to the steps into the trailer.  John, with deadly accuracy, took care of them, however.  Fortunately no one got stung.


We had to jack up the car and move the support blocks and beams to access parts of the underside for the moisture barrier and sheathing installation.  This heavy duty jack was borrowed from the Trolley Museum and made lifting the car look easy.  John is doing the heavy lifting here.


This steel beam can be moved now.


In this last photo Bill K. is placing blocks in a new position under the car.

Wednesday, November 2, 2016

July 2016

Fastening the siding boards to the ends of the car presented a challenge because of the steel bracing that was added.


Craig's solution was to make a panel of the siding boards by gluing them together and then routing out grooves for the steel braces as shown in this photo.


The panel fit over the braces as shown here.  Wood strips were nailed and glued onto the framing so that screws could be used to hold the panel in place.


This photo shows a closeup of one of the wood strips with a screw into the siding.


After the fitting Ron applied primer to the inner surface.


Mean while work continued on the under side with cutting and fitting the moisture barrier.  Bob is cutting in this photo.


At the same time cedar boards were installed over the moisture barrier.  Bob is doing the  measuring and cutting.


Bill K. is under the car doing the nailing while Bob is measuring for the next piece.

Friday, October 28, 2016

June 2016 - Under the car

After a busy summer I am back at the blog.  June was a good month for work on 470 with two work sessions, but work sessions on the railroad in Chama and Antonito later in the summer meant less time for Colorado Springs.


One accomplishment was to place lock nuts on the bolts (of which there are many) on the underside of the car.  This is a tedious task but very important to prevent loosening as the car shakes, rattles, and rolls along the track.  Here Bill and Ron are working along one of the bolsters.


This photo shows a closeup of  two bolts with the flat lock nuts in place.


John Weiss stopped by with a model in wood of the pivot plates that go between the car and the trucks.  They allow the the trucks to rotate as the car travels around curves.  Ultimately these will be made out of steel.


Here John (on the right) is checking the fit of the model.  Note the block between the inner sills with a hole for the center pin.


Marshall and Mary Jane Smith came to help, shown here with Glen Hall.  Marshall helped with the welding of the body truss rod saddles.  Also in this photo is a roll of the water barrier to be placed under the car prior to installation of the sheathing.


 In this photo John is positioning the saddle on the post, held in place with wood blocks.


Ready to weld.


Here Marshall is welding one of four posts and saddles.


Thanks, Marshall.


The last project for June was to start installing the moisture barrier under the car.  Those of us with old necks and shoulders did the cutting of the sheets, in this case Marshall, John, and Tom.


The "boys" were under the car doing the measuring, fitting, and nailing, here Bill K. and Bob.  As you can see the quarters were tight and there was a lot of framing, etc. to work around.


Hammering upside down is always fun.


Nice job, guys.

Monday, June 13, 2016

May 2016 - End platforms, siding, etc.

May was a busy month, and with the added Thursday sessions good progress was made.  The assembly of the end platforms was completed and the installation of siding is well underway.

The tie rods are in place and bent to fit through the intermediate spacer and platform end sill.


John (on the left) and Don are lifting the spacer into place.  Grooves have been cut in it to allow the rods to pass through that will attach to the end sill.  This photo also shows how the pieces are notched and mortised to fit together.


This is a view from above showing the spacer in place with a rod through it.  The end of the rod has been threaded and is ready for a washer and nut.  Two of the six rods end in the spacer with the other four ending in the end sill.


Don and Ron are drilling a hole in the end sill for the rod to pass through.  The sill was put in place and marked for drilling, then taken down to drill the hole.


The inner end of the outside rods are hooked on to the end sill of the car and held in place with lag bolts.  Don is under the car tightening the lag.


The end sill was replaced after drilling.  John and Ron are providing the lifting power.


The last step was placing the small spacer board over the sill and tightening the nuts with standoff washers.  The intermediate spacer can be seen at the lower right of the picture bolted in place.


Now the platform end sill is secured with the four tie rods, fitted with standoff washers, nuts and lock nuts.


Concurrently with the platform assembly Craig and others were applying the siding boards to the car.  Here he and Bill L. are working on the south side.  An air nailer helps speed the process.


Good job, guys.  Notice how the upper ends of the boards fit into a groove in the letterboard and the  lower ends are angled to fit the slope of the window sill.


This is the view from the inside of the car.  Glue blocks have been placed against the siding and framing as were present originally.


Here Bob is putting up more glue blocks in the side wall at the end of the car.


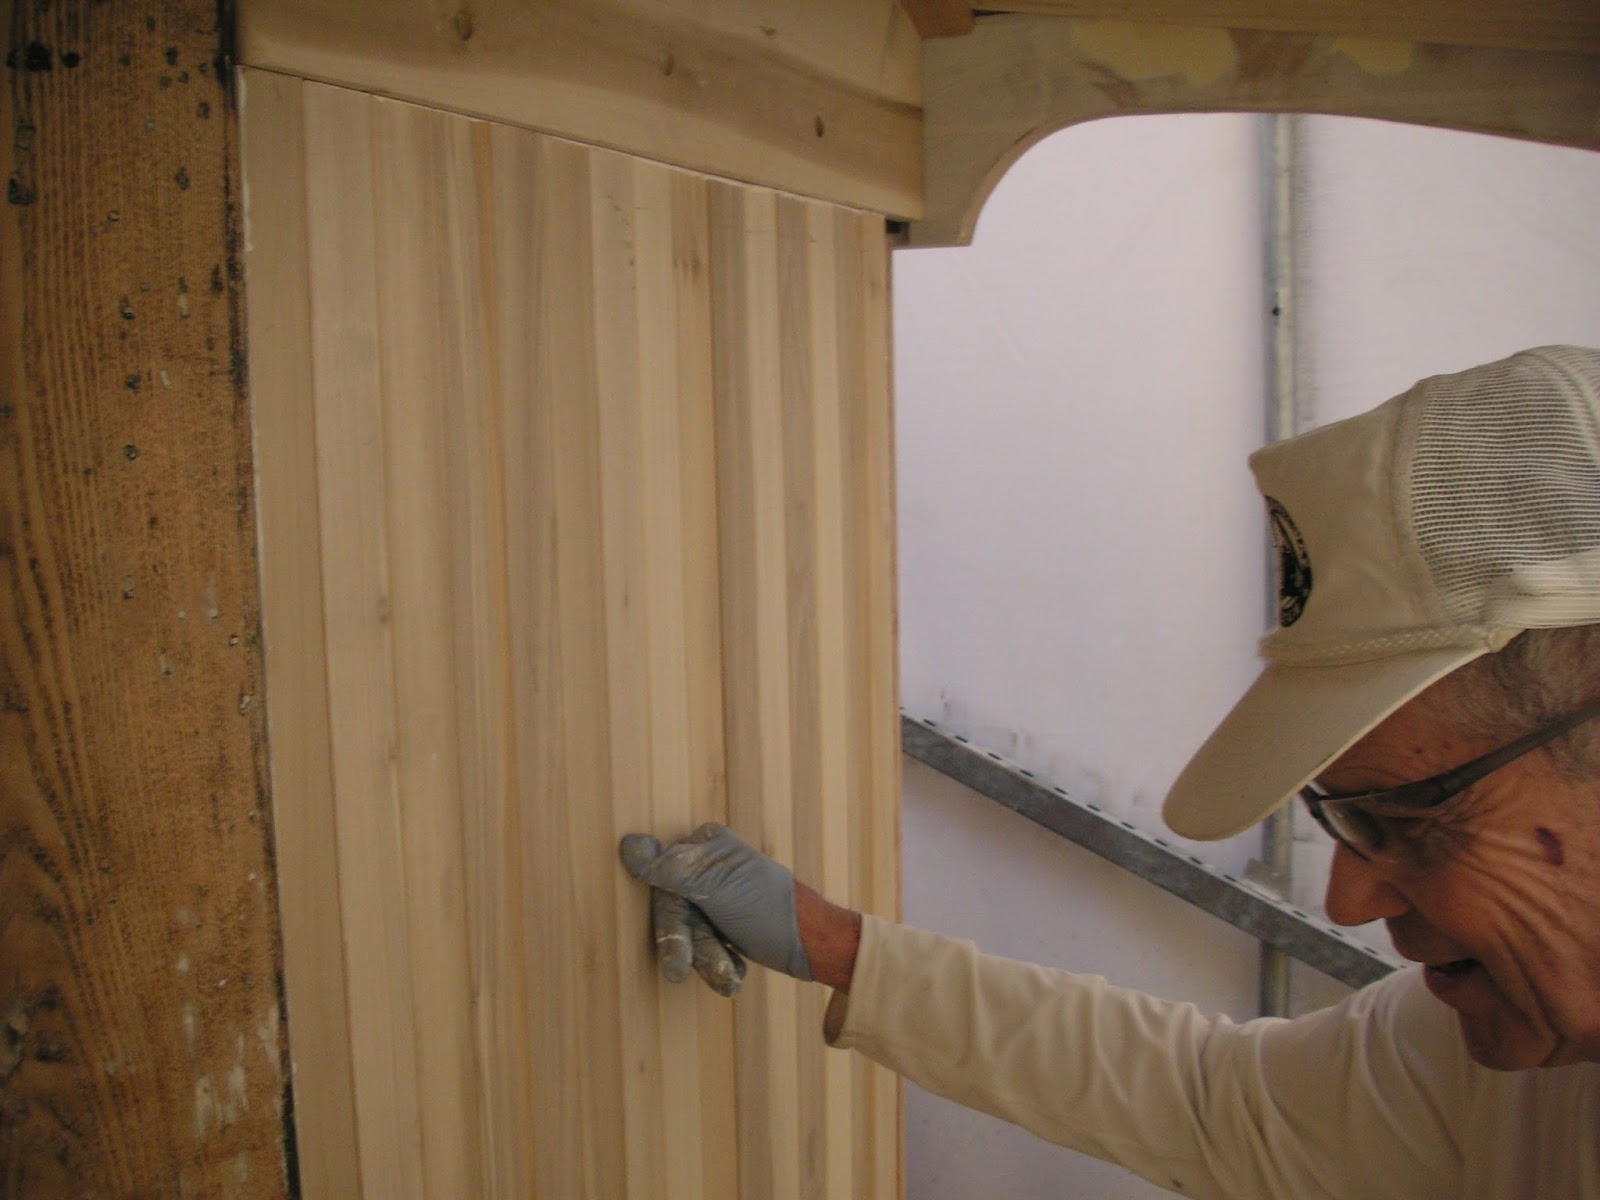
Craig is bolting the exterior wood piece over and around the door into place.  A previous  post showed how this was put together.


This photo shows it finished, complete with the trim piece across the top between the roof and the end piece.


This photo shows the trim pieces on the ceiling of the platform.  A few of the ceiling boards also had to be replaced along the far edge..


Originally there were rectangular blocks of wood inserted in the framing to provide stiffness to the walls of the car.  In this photo Bob is replacing one of these with a new one.

Ron glued blocks of wood to the framing at the end of the car to be able to fasten the siding securely.  The steel supports will have to be mortised into the siding.  More on this later.


 The above two photos shows Ron drilling through the steel to place a bolt through it and into the framing to hold it from bending outward.  One of the blocks for the siding can be seen behind the steel in the photo on the right.

Finally this month asymmetrical washers were obtained and installed on the bolster.  Because of the slope of the lower part of the bolster a flat washer could not be used.  Note also the lock nut in place.  All of the bolts through the floor framing were tightened and lock nuts installed.

Followers

Blog Archive