Friends COS calendar

A subset of the Friends of the Cumbres and Toltec Scenic Railroad located in Colorado Springs, Colorado, with the mission of preservation, restoration, and interpretation of CTSRR historic assets. The Springs group is primarily involved in restoration. See below for blog archive of older postings.

Wednesday, July 21, 2010

COS Work session, July 5-9, 2010

Because of other commitments, weather, etc. this was the first work session since mid-May.  We were able to accomplish quite a bit during the week, and appreciated the help of out-of towners Marshall and Mary Jane Smith from Texas.  Work centered around finishing the structure framing and drainage, as well as dismantling the interior and exterior of the car.
We have anchored the base of the structure tubing to rails with custom fabricated couplers courtesy of our resident woodworker and sheet metal worker (Craig and Tom).  Drilling the holes through the rail for the bolts was the most fun.  It appears that the structure won't be going anywhere anytime soon.  On the left, we have installed the last of the drainage pipe around the structure, and spread gravel around the work areas to try to combat the adherent clay that accurs after a rain.  It is hope that we will be able to install the cover over the frame in the next month or so.  It will be custom cut to fit the dimensions we have.


Thursday, May 13, 2010

More arches 5-1-2010


Bob is going bungee jumping again, but on a very short line.  On the right, up he goes, ridge pole in hand.

Wednesday, May 12, 2010

Piledriver OB repair (cont'd.) 5-1-2010

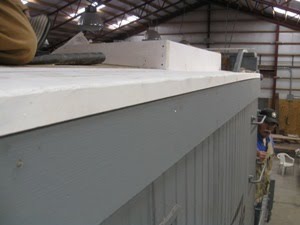
The first workday in May was held in the CRF in Antonito, CO to repair roof damage to OB.  For those of you not aware of recent events (or on another railroad planet) it was damaged in transport to the Colorado Railroad Museum last spring.  Repairs were made to make it structurally sound, but not weatherproof (see archive blogs).  It spent the summer and fall at the Museum in Golden where several working demonstrations took place.  The current work session was to complete repairs to the roof, including the decking, hatch, and walkway.  Above, damaged roof decking was removed and replaced.


On the left, decking was fitted around the new tie rod on the damaged side of the cab.  On the right, the edge has been finished off, and the hatch reconstructed.  Craig is peering around the corner waiting for the photographer to get in the wet paint.

Next new waterproof roofing is applied to the roof and around the hatch, and sealer rolled on.  We don't piledriver operator to get wet.

Tuesday, May 11, 2010

Back to the car 4-17-2010


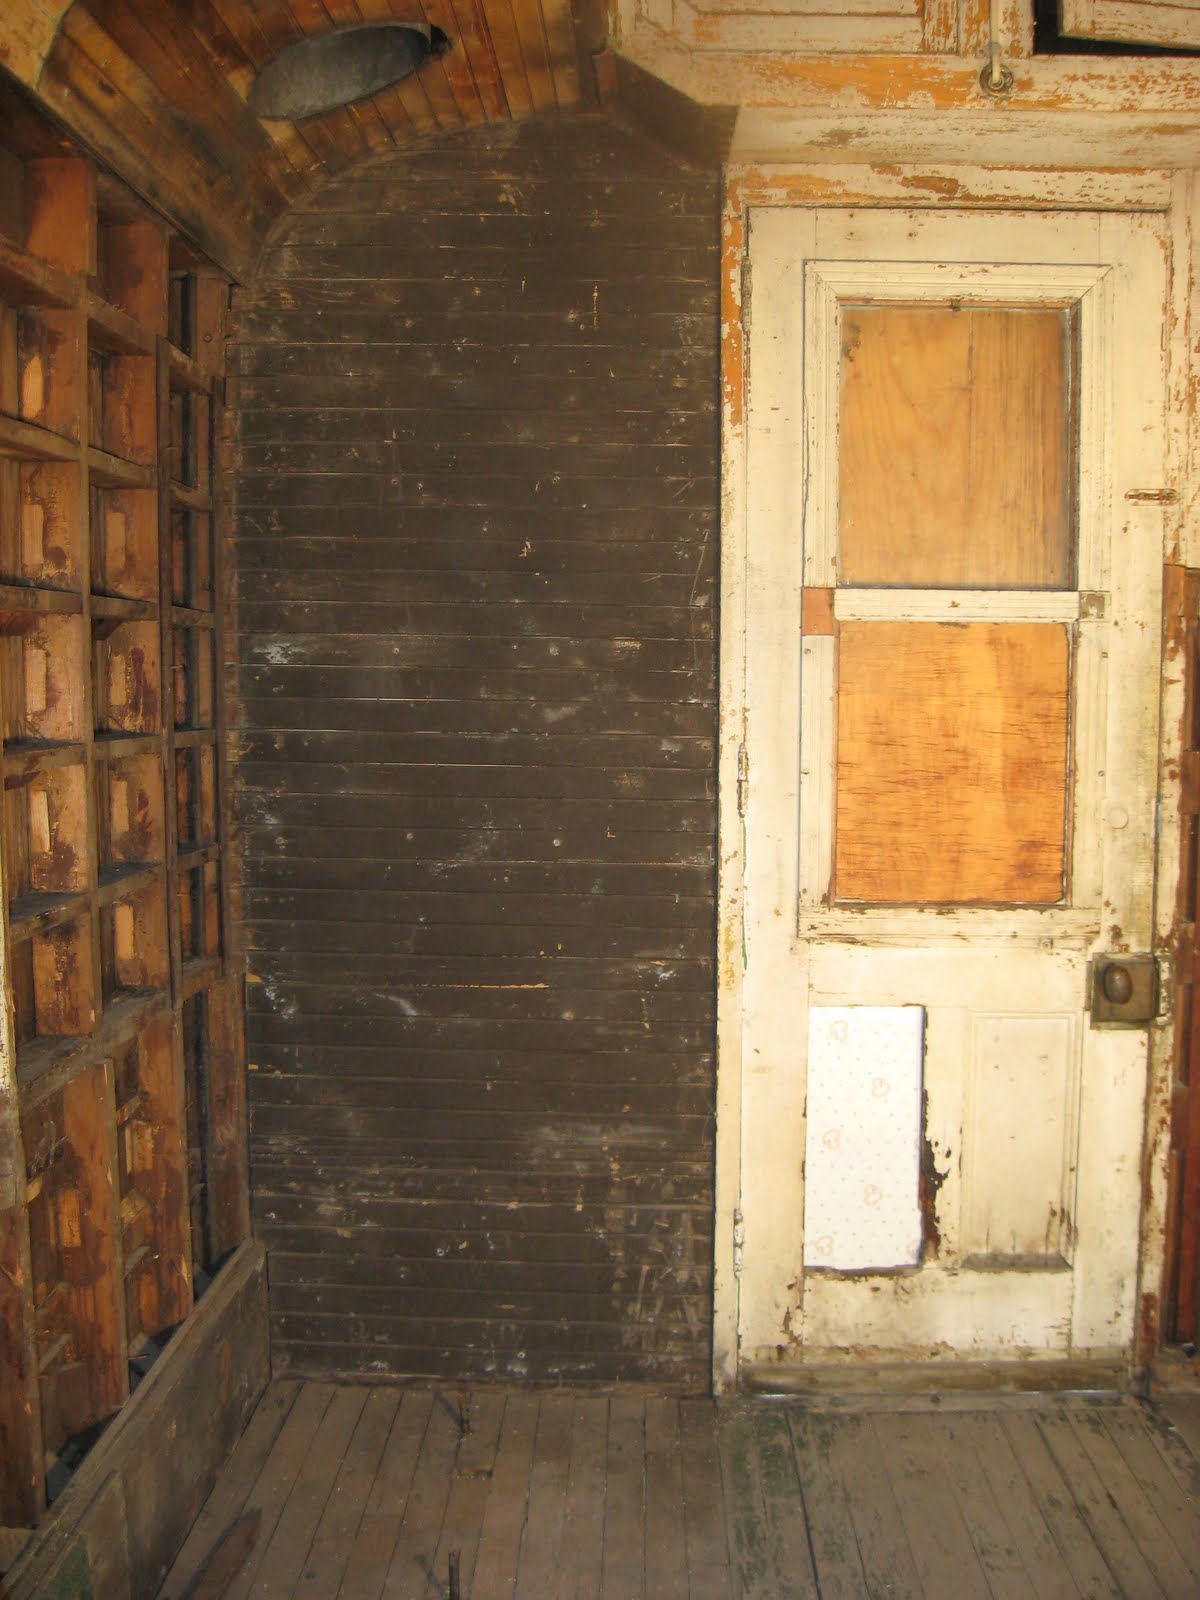
Craig, Glen, and I worked on removal of more of the old wood from the interior of the car.  Above, left is a before photo of the back end to the left of the door where a stove had recently been.  Originally, this was a lavatory.  Note the cabinet partially in the photo above the door.  On the right is a cabinet door and latch mechanism that have been removed.  These were storage cabinets at each end of the car over the doors.


The interior wood has been removed showing the framing (same area as left, above).  On the right, some hitchhikers have been traveling in the wall.  Thanks again to Glen for the photos.

Moving right along 4-10-2010

Another day of planting poles.  We were fortunate to obtain a cherry picker from RSC for the cost of fuel.  The Trolley Museum has had an arrangement with them that we have benefitted from as well.  The smallest guy gets to do the high jobs, and it was no exception for Bob who placed the bracing along the ridge.

Looking good.  Glen got a ride in the bucket for the overhead view.  The crew finished up as the clouds rolled in from the west.  Just a few more to go.

Back to work, 4-3-2010

After weather delays in March, work got under way on the protective structure which will cover the car (and us) during restoration.  We obtained a laser level to help insure that the arches were in line.  The holes were dug, but precipitation had filled some in so that the levels were uneven.

The framing arches were assembled and carried over the car, then set in place and levelled.  In spite of what appears to be a lot of discussing going on, work also progressed once everyone got "in the groove."

The last photo shows the first several arches in place lined up fairly well.  It also shows the size of the shelter, with room above to work on the roof of the car without being cramped.  Eventually, the car will be raised on dollies so the space above will be decreased from this.


Meanwhile, our chronicler, Glen, has been busy making drawings as well as photos.  On the left, he is holding a drawing he made over one we had obtained earlier.  The initial one shows the framing of the car but not the finishing details.  He redrew the framing and added the interior details in the lower drawing from photos and measurements he made as the interior was dismantled.  On the right, an approximately similar photo view is shown for comparison.  These drawings will be used in the reconstruction of the interior.

Sunday, February 7, 2010

February 6, 2010

On the first Saturday in February (still winter), we continued work on the protective structure as well as the interior of the car.  The Ironman, aka Tom, above left, has been fabricating anchors for the posts for the building.  An example of the assembled design is on the right.  These will be set in post holes which will be filled with gravel, and fixed to a railroad rail to provide stability.  More on this as we progress.  Also, we borrowed a transit from my brother, Tom, and shot levels of the ground next to the post holes to begin the process of grading for drainage.  It has been decided to let the water drain into the pit under the car, which has a drain in it as well that allows the water to clear fairly quickly, presumably into the nearby creek.

Meanwhile, in the men's room, discreet demolition continues.  The ceiling in this area is poorly preserved.  Originally this corner was indeed the men's restroom, but most recently was the area of the icebox (not refrigerator) which has been removed.  There are various holes in the roof here, and there were water leaks which caused deterioration of the wood.  In the photo on the right, above, note the vertical lines in the wall in the left side of the photo, and below the metal plate between the windows.  These were partitions which separated the toilet from the washbowl.  The ladies' room was at the other end of the car in a similar configuration.
On the left above, a closer look at the ceiling above the men's room/icebox, as opposed to the area adjacent that is very well preserved.  The former is soft wood (fir?), while the latter is oak.
At the other end of the car trim is being remove exposing a structural beam containing large lag bolts.  Two bolts are visible in the photo on the left above.  The trim piece was held in place by wooden pegs as can be seen in the closeup on the right above, as well as glue.

Also, I continued making storm windows (see last post).  Only seven more to go.  Yay!!!

Followers

Blog Archive