Friends COS calendar

A subset of the Friends of the Cumbres and Toltec Scenic Railroad located in Colorado Springs, Colorado, with the mission of preservation, restoration, and interpretation of CTSRR historic assets. The Springs group is primarily involved in restoration. See below for blog archive of older postings.

Sunday, March 2, 2014

Ready to weld - February 15-27, 2014

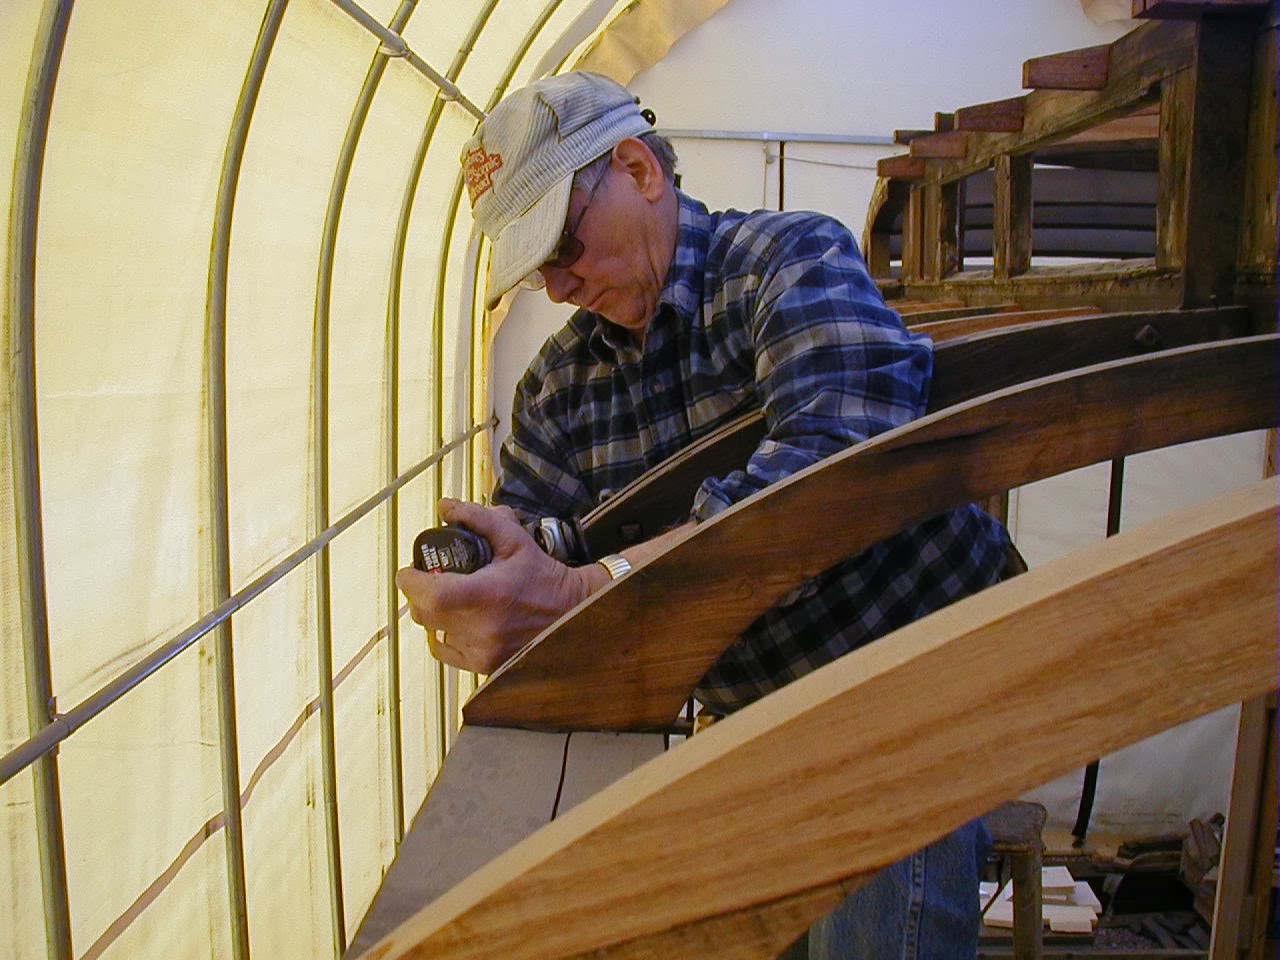
The last pieces of steel to be fitted will brace the upper corners of the car and add stability to this area.  One end is bent at a 90 degree angle and will be welded to the inside of the plate secured to the end of the car, and other end will be welded to an angle piece bolted to the upper sill where Lenny is securing a clamp.
Grooves were cut in the framing so that the steel can be recessed allowing for the interior finish material to be flush over it.  Bill is working on one of the corner notches.
This photo shows one of the corners with the steel strip in place abutting the end plate to which it will be welded.
The other end of the steel strip will be welded to the angle piece which can be seen just below it.  This is a view from the inside of the car.
Here is a view from the outside of the car showing the angle piece that will be bolted to the sill above.
These pieces had to have the paint removed from the areas to be welded.  Thanks to the Trolley Museum I was able to use their wire wheel.  And thanks to Tom for taking this photo.
Meanwhile, Bob and Lenny were finishing up drilling the plates that will go under the pivot blocks where the trucks are attached.  These will be welded to the large angle pieces that are attached to the inner sills.
Rich joined us 2 weeks ago - some people have day jobs, I guess.
We received some vital hardware from Russ Hanscom who fabricated these in his shop.  These are fittings for the truss rods that run the length of the car.  Please see the photo of a diagram on the posting Sept. 7, 2013 showing where these are located.  Many thanks, Russ.
Finally, in the photos below, Craig has been busy in his shop as well.  He sent pictures of pieces he has made that will be needed to install the trucks.
Truck brake beams.
 
Truck bolsters.


Wednesday, January 29, 2014

Windows and steel - January 18, 2014

 Craig, Bob, and I fitted window frames that Craig had made in his shop.  The windows are in  two pieces, a fixed upper pane and a lower one that can be raised and lowered for ventilation.
The upper frame rests on a molding that is fastened to the frame of the car.  The lower pane rests against this molding as well, and can slide up and over the upper pane.
There was some trimming that had to be done, and we broke out the table saw for the first time.  In the lower right of this photo a pressure clip can be seen in another piece that is fastened to the framing that holds the lower pane in an open position.
This photo shows an original upper frame with a peg in place that fits into a groove in the wood above.  The upper frames are put in place by inserting the peg in the groove, then pushing the lower part in over the shelf in the molding along the side of the window.  They can be removed if needed to replace glass by reversing the process.


Meanwhile Tom is preparing for adding steel to the ends of the car by cutting out notches in the framing with an oscillating tool.  Each end will have a steel "cage" that will be welded to the steel below for added stability.  More details on this later.


Lenny was using the magnetic drill to drill steel plates that will go under the car at the pivot points of the trucks, and will be welded to the angle steel that is fastened to the inner sills.  The large hole is for the pivot bolt, and smaller ones for bolts to secure the plate.  We are hoping to complete the welding soon, weather permitting.

Wednesday, January 15, 2014

Last session of 2013 - 12-21-13

On this chilly December day we removed the cross pieces of steel from the ends of the car and welded the other side of the joints, that is, the side toward the car.  The ends of the steel have been beveled in preparation for the welding.


Mike, on the left, has agreed to help us with the welding, thanks to Lenny and Sarah for being in touch with him.  He is a professional welder, and here he and Tom are getting started.


Mike works quickly and does an excellent job.  He did all of the joints of the steel cross pieces at both ends of the car.


I got to bat clean-up, grinding the welds smooth so the steel would fit snugly against the framing.  Thanks to Tom for taking this photo.


 After the welding was completed the steel was raised up and slid into place under the overhang.
Meanwhile, Craig was working on the letterboards.  He had to replace part of the board on the end of the car because it was badly deteriorated.  Note how the end and side boards are dovetailed.

Thursday, November 21, 2013

Warm before the storm - Nov. 16, 2013

It was a warm November day for the second work session of the month.  Bob continued on the letterboards, routing out grooves for the verticals as well as the overlaps.  Craig had made guides for the routers and loaned his routers while he was out of town.
I helped with the routing and drilling as well as tacking the boards up with screws.  They are not up permanently at this point, but are being fitted.  We numbered them on the inside to replace them correctly.  The inner boards on both sides are in place, leaving the four end ones to be done.


Bill was busy treating the new lumber (and some of the old) with linseed oil.  Here he is doing the panels between the framing at the end of the car.  The new wood in the floor framing was also treated.


It was also a good day for some housecleaning, if there is such a thing.  Tom and Bill "took out the trash," and Tom sorted recycle, etc.

Since welding has been put on hold, plans are being made to proceed with wood work in the near term.

Tuesday, November 5, 2013

Framing blocks, steel, letterboards - November 2, 2013

Last time, we drilled bolt holes in the steel pieces that will be connecting the inner sill steel with the end sill steel.  These will be underneath and bolted and welded together.  Our welder has had some medical issues, and the welding has been delayed.
Bill and I worked on making blocks to go between the framing cross pieces above the bolsters.  These were glued and screwed together.  Sizing was "interesting" as measurements varied from place to place.
 Bill is holding a block in place where it will be installed.  Originally they abutted the intermediate sill on his left.
There also will be small blocks against the outer sills.


Meanwhile, Bob and John M. and John E. continued work on the letterboards.

Connecting steel; Letterboards October 5&19, 2013

 On the first weekend in October much of the welding on the ends of the cars was completed.  The "X" braces were welded in place with the upper ends welded to the plate above and the lower ends to the angle piece fastened to the end sill.  The welds were ground smooth so the sheathing can be placed over the steel.


The large angle pieces that are fastened along the inner sills will be tied to the angle steel on the end sills by a plate and spacer as shown in the photo on the right.  They will be welded in place under the end sill and inner sill, as well as bolted through the end sill.
Here I am drilling to accommodate the bolts holding the steel pieces to the wooden sill.  More on this next time.
Lenny cut a notch in the spacers for placement of a thick steel plate between the steel on the inner sills, below the pivot blocks on each end of the car.  This will provide reinforcement at the attachment point of the trucks.
Here is another look after he finished cutting the notches.
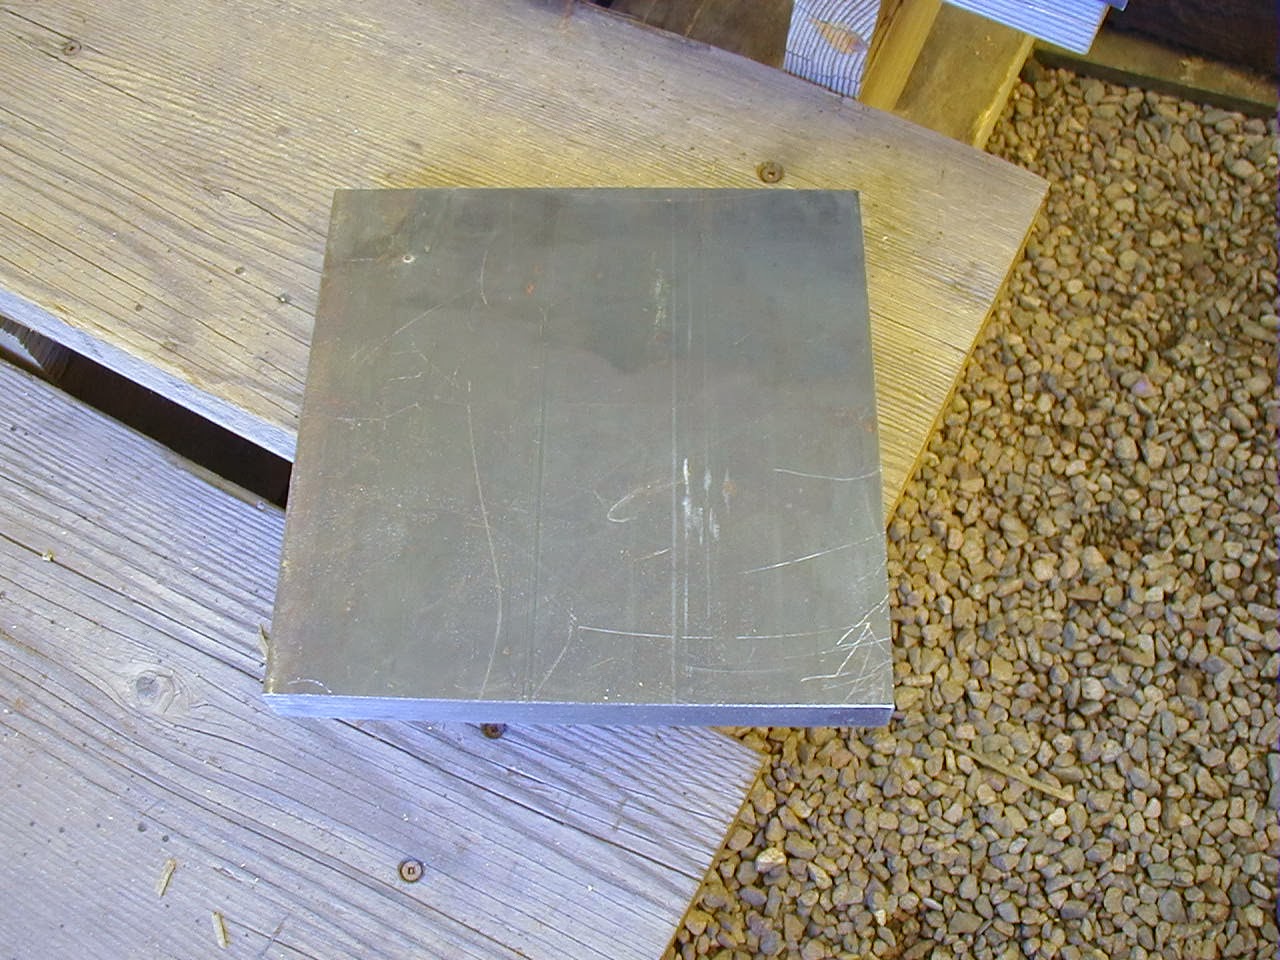
Finally, this is the plate to be placed between the sills.  There is some drilling to be done as well.
And yes, there is wood.  Craig has made the letterboards that go along the side of the car above the windows.  There is a groove below (seen on the right in this photo) for the windows and a curve  above (on the left) to fit the pitch of the roof.  The grooves along the upper side of the board in the photo fit around the verticals on the side of the car.
Here Craig and Bob are cutting the grooves with a router and guides that Craig made.
In this photo they are fitting and hanging one of the letterboards.  The grooves fit the vertical posts in front of Craig and to his right.
Several boards are in place in this photo.  Note the overlap cut into the near end.

Monday, September 16, 2013

Steel prep - September 7, 2013


In the last work session, the large angle steel
 has been fitted to the end sill on the east end of the car and bolted in place.


In this session, the pieces of steel for the X-
bracing on the ends of the car were prepped
for welding.  They will be butt welded together, and the outer (accessible) corners were ground down to form a "V" to accommodate the welding material.


Then the two molding pieces separating the upper


and lower paneling on the end of the car were
grooved to allow the steel to be flush with the
framing.


This photo shows the X-bracing ready to be
installed next to the needle beams.  Lenny
cut them prior to my grinding them for
welding.  We hope to be welding them all
together next session.

The needle beams provide support for the
center of the car, and have been reinforced
with steel.


This photo is of a drawing of the car showing
the needle beams under the car, on end,
crossing side to side under the sills.  The
queen posts extend down to a truss rod that
runs almost the entire length of the car,
which when tensioned, will tend to elevate
the needle beams and support the middle
of the car.  (Click on photo to enlarge.)

Followers

Blog Archive